
A step-by-step process on creating accessible PDF document
By Angeline Neo
5 min read
This article is to share my process of creating accessible PDF’s through InDesign for University of Florida. The PDF is then used for UF faculty and staff to learn more about Empowering UF. Empowering UF is a organizational transition from current UF system to Workday. My role was to transform this PDF into an accessible document.
Adding Document Title
- This helps define the official name of the file. I added “Description” and “Keywords.”

Add Paragraph Styles
- This not only helps with general formatting but from accessbility standpoint, it maps visual text formatting to semantic structure tags (H1, H2, p)-more below
Export Tagging
- After formating the styles, tag the paragraph style on each of them. This helps to read in order
Define tags on each styles
- This sets the tag of H1, H2, p or others
Arrange order using article panel
- Helps to define reading and tagging order to read in the correct sequence

Reading order
After tagging, move around to ensure they are in order
Anchoring objects in text frame
To ensure the images alt text are read in order along with the sentences
Add hyperlinks
Adding hyperlinks to direct them to the URL website
Add alt text to images
To understand the image content and helps search engines to understand content for SEO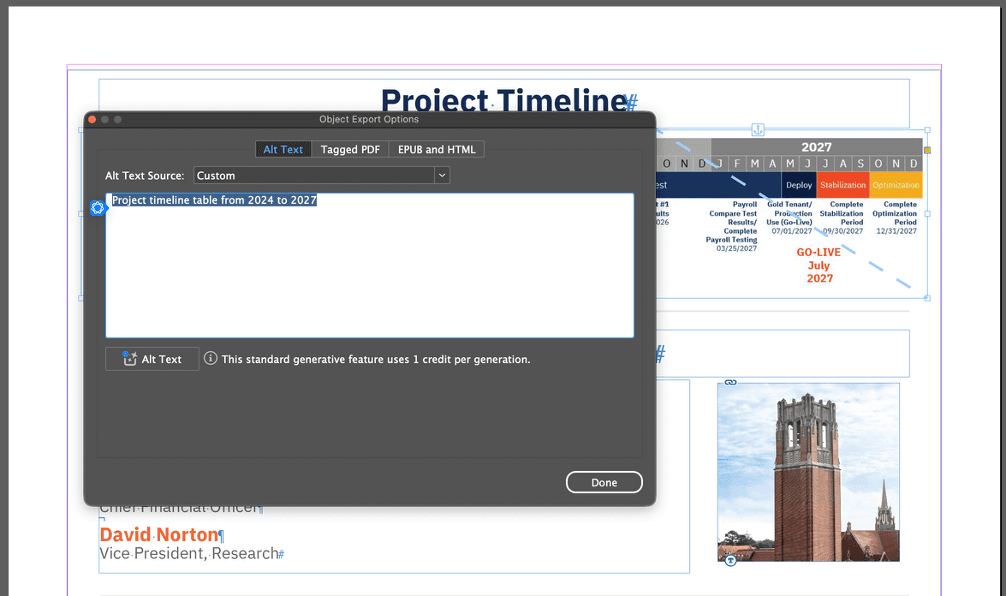
Export to PDF to ensure accuracy
Make sure to check “create tagged PDF” to convert

The PDF was then opened using Adobe Acrobat and I check for any accessibility issues using the “Accessibility Checker.”

